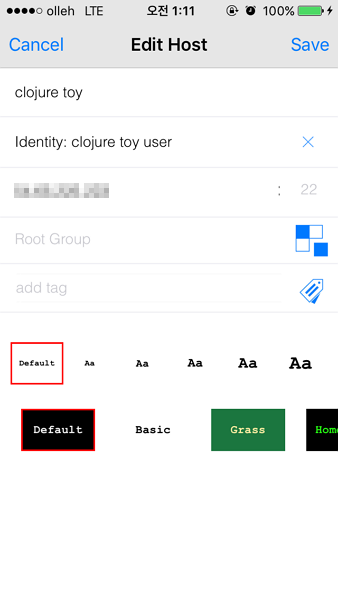
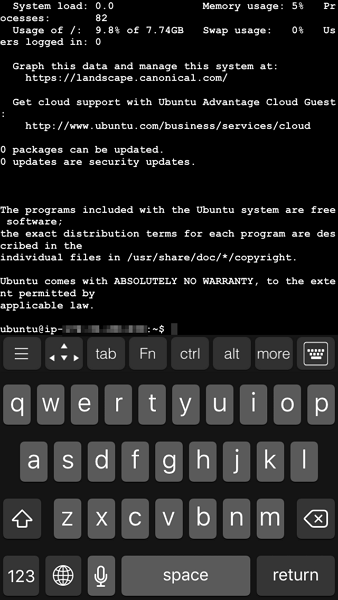
clojure + 스마트폰 = <3 lein 설정및 noir 웹 프로젝트 생성하기 ~/.lein/profiles.clj 를 편집한다.
1
2
3
4
{:user {:plugins [[cider/cider-nrepl "0.10.0-SNAPSHOT" ]
[lein-localrepo "0.5.2" ]
[noir "1.3.0" ]]
:dependencies [[org.clojure/tools.nrepl "0.2.7" ]]}}
다음 프로젝트 폴더 (예를들어 ~/Project ) 에 방문하여 다음을 입력하여 noir 프로젝트를 생성한다.
디펜던시들을 다운받고 다음의 메시지가 출력되며 프로젝트가 생성된다.
1
Generating a lovely new Noir project named foo-web...
emacs 로 다음의 파일을 연다.
1
emacs ~/Project/foo-web/project.clj
:dependencies 중 clojure 정도만 1.7.0 정도로 바꿔준다..
C-c, M-j 로 clojure-jack-in 함수를 호출한다. 좀 오래 기다리면 REPL 버퍼가 열린다.
1
2
CIDER 0.10.0snapshot (package: 20150901.1605) (Java 1.8.0_45, Clojure 1.7.0, nREPL 0.2.7)
foo-web.server>
C-c, C-z 를 눌러 project.clj 버퍼가 열리도록 한 뒤에,
C-x, C-f 를 눌러 ~/Project/foo-web/src/foo_web/server.clj 파일을 연다.
C-c, C-k 를 눌러 컴파일한다.
C-c, C-z 를 눌러 REPL 버퍼로 다시 이동한다.
1
2
3
4
5
6
foo-web.server> (def srv (-main))
Starting server...
Server started on port [8080].
You can view the site at http://localhost:8080
#'foo-web.server/srv
foo-web.server>
이것으로 최초로 서버를 기동했다. aws ip 에 8080 포트로 접근해보자.
웹 페이지 만들기 src/foo_web/views/welcome.clj 파일을 연다.
C-c, M-n 를 눌러서 REPL 버퍼의 namespace 를 현재 열린 버퍼의 namespace 로 전환한다.
1
2
3
4
5
6
7
8
(ns
(:require [foo-web.views.common :as common]
[noir.content.getting-started])
(:use [noir.core :only [defpage]]))
(defpage "/welcome" []
(common/layout
[:p "Welcome to foo-web" ]))
defpage 매크로로 선언된 부분을 보면 이후 따라오는 주소로 다음과 같은 html 을 렌더링했음을 알 수 있다.
1
<p > Welcome to foo-web</p >
html5 매크로에 의해 [:p] 는 hiccup 이라는 라이브러리의 hiccup.core/html 매크로를 호출하여 html로 치환된다. 다음의 표현이 가능하다
1
2
3
4
5
6
7
8
9
10
foo-web.views.welcome> (println (hiccup.core/html [:h1.foo-class "bar"]))
;; <h1 class="foo-class">bar</h1>
;; => nil
foo-web.views.welcome> (println (hiccup.core/html [:h1#an-id.foo-class "bar"]))
;; <h1 class="foo-class" id="an-id">bar</h1>
;; => nil
foo-web.views.welcome> (println (hiccup.core/html [:div [:h1#an-id.foo-class "bar"]]))
;; <div><h1 class="foo-class" id="an-id">bar</h1></div>
;; => nil
foo-web.views.welcome>
다음과 같은 페이지를 만들어 보자.
1
2
3
4
5
6
(defpage "/foo" []
(common/layout
[:div.wrapper
[:input {:type "text" }]
[:button "OK" ]
]))
common/layout 이란 매크로를 주목하자. 여기에 커서를 위치시킨뒤 M-. 를 이용하여 이동할 수 있다.
defpartial 매크로는 결국 hiccup 매크로로 작성된 블럭들을 조립할 수 있음을 알 수 있다.
따라서 좀더 활용가능하도록 바꿔보자.
1
2
3
4
5
6
7
8
9
10
11
12
13
14
15
(defpartial layout [ & {:keys [style
script
header
content
footer]}]
(html5
[:head
[:title "Macadamia!" ]
`(~@script)]
[:body
[:div#header `(~@header)]
[:div#wrapper
[:div#content `(~@content)]]
[:div#footer `(~@footer)]
]))
foo 페이지는 다음과 같이 변경한다.
1
2
3
4
5
6
7
(defpage "/foo" []
(common/layout
:content
[[:div.wrapper
[:input {:type "text" }]
[:button "OK" ]
]]))
이렇게 해서 템플릿 레이아웃을 쓸 수 있게 되었다.
이제 이 템플릿 레이아웃에 bootstrap 을 적용하도록 하자.
css,js 등 정적파일은 resources/public/ 에 추가하면 된다. 여기서는 그냥 cdn을 이용하는것으로.
common.clj 의 :use 함수에 include-js 를 추가하고 layout 을 수정하자.
1
2
3
4
5
6
7
8
9
10
11
12
13
14
15
16
17
18
19
20
21
22
(ns
(:use [noir.core :only [defpartial]]
[hiccup.page :only [include-css include-js html5]]))
(defpartial layout [ & {:keys [style
script
header
content
footer]}]
(html5
[:head
[:title "Macadamia!" ]
(include-css "https://maxcdn.bootstrapcdn.com/bootstrap/3.3.5/css/bootstrap.min.css" )
(include-js "//code.jquery.com/jquery-1.11.3.min.js" )
`(~@script)]
[:body
[:div#header `(~@header)]
[:div#wrapper.container {:style "display: table; height: 100vh;" }
[:div#content {:style "display: table-cell; vertical-align: middle;" } `(~@content)]]
[:div#footer `(~@footer)]
(include-js "https://maxcdn.bootstrapcdn.com/bootstrap/3.3.5/js/bootstrap.min.js" )
]))
자 이제 bootstrap 으로 스타일링을 하자.
1
2
3
4
5
6
7
8
9
(defpage "/foo" []
(common/layout
:content
[[:div.col-md-12
[:div.row.col-md-6.col-md-offset-3
[:div.input-group
[:input.form-control {:type "text" }]
[:span.input-group-btn
[:button.btn.btn-primary "OK" ]]]]]]))
잘 나온다. ㅎㅎ

